Embroidery Tips and Tricks: Before You Begin
Before you start embroidering, you need to prepare your materials and tools. Here are some tips to get you ready:
- Prewash your fabric if it has a strong color or if it is likely to shrink. This will prevent any dye bleeding or distortion of your embroidery later on.
- Press your fabric with an iron to remove any wrinkles or creases.
- Use a water-soluble marker or another marking tool to transfer your embroidery design onto your fabric. Make sure that your marking tool is easy to see and easy to remove after you finish your embroidery.
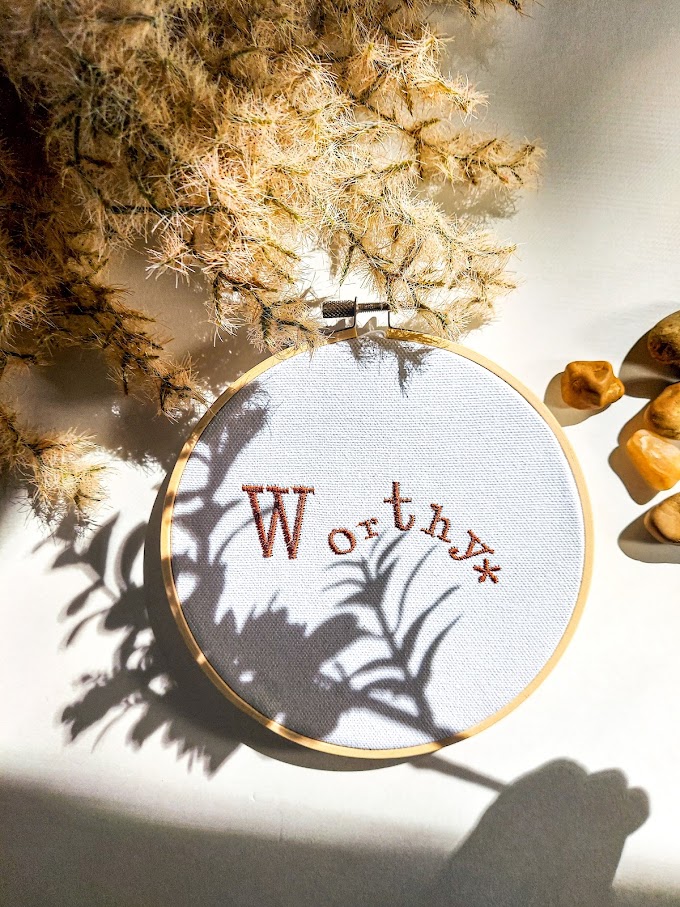
- Use an embroidery hoop to hold your fabric taut while you stitch. Embroidery hoops come in different sizes and materials, such as wood or plastic. Choose one that fits your fabric and your design.
- Use embroidery needles that have larger eyes than normal needles to accommodate the embroidery thread. You can find them in different sizes and shapes, depending on your preference and the type of stitches you want to do.
- Use embroidery scissors that have pointed tips and smooth blades to cut your thread and trim your fabric. They should be small, sharp, and comfortable to use.
- Use embroidery thread that suits your fabric and your design. There are many types and brands of embroidery thread, such as cotton, silk, wool, or synthetic. The most common one is six-stranded cotton embroidery floss, which comes in a variety of colors and can be separated into thinner strands if needed.
Embroidery Tips and Tricks: Choosing Stitches and Colors
Once you have transferred your design onto your fabric, you can choose what stitches and colors you want to use for each part of the design.
- Stitches: There are many types of embroidery stitches that you can use to create different effects and textures on your fabric. Some of the most common ones are running stitch, back stitch, split stitch, satin stitch, stem stitch, French knot, and seed stitch. You can find tutorials and guides online or in books on how to do these stitches and more.
- Colors: You can choose any colors that you like for your embroidery design. You can match them to the colors of your design or use contrasting or complementary colors for more variety. You can also use different shades of the same color for shading or blending effects.
Embroidery Tips and Tricks: Starting and Finishing Your Embroidery
Now that you have everything ready, you can start stitching.
- Thread your needle with one end of the thread and knot the other end.
- Bring the needle up from the back of the fabric to the point where you want to start stitching.
- Follow the outline of your design with the stitch of your choice until you reach the endpoint.
- Bring the needle down to the back of the fabric and secure it with a knot or a few small stitches.
- Cut off any excess thread with scissors.
- Repeat these steps for each part of the design until you finish.
When you finish stitching, you can remove any markings from your fabric with water or according to the instructions of your marking tool.
- Remove the embroidery from the hoop by loosening the screw and separating the rings.
- Press the embroidery with an iron from the back side to smooth out any wrinkles or puckers.
- Display your embroidery in any way that you like. You can frame it in a hoop, in a picture frame, or in an embroidery stand. You can also sew it onto another item such as a pillowcase, a tote bag, or a jacket.
Hope you have learned some tips and tricks that will help you with beautiful embroidery.


%20(1).webp)
.png)
%20(1).webp)


