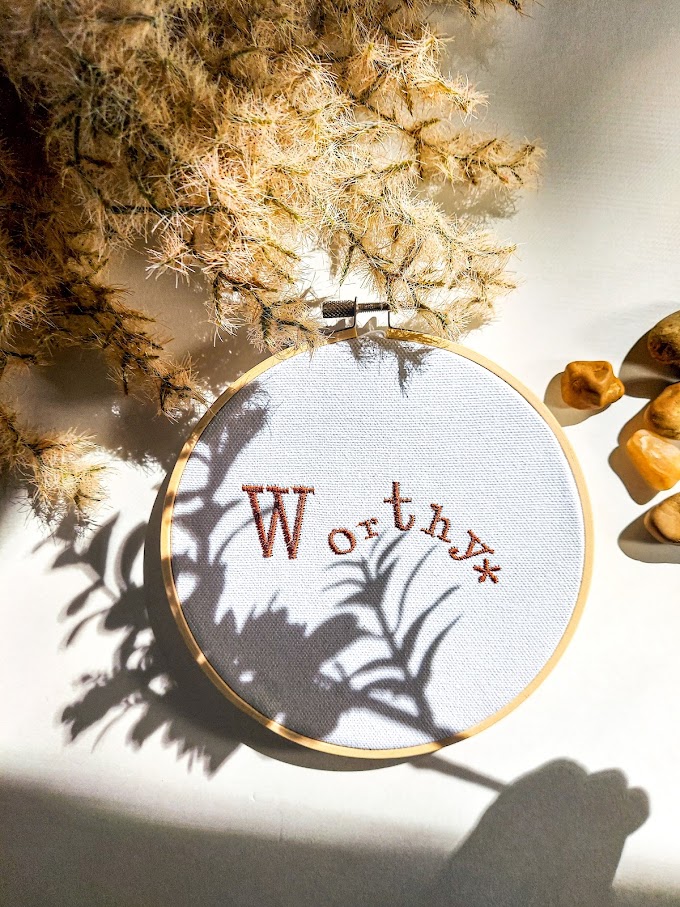
Embroidery is a beautiful way to add color and texture to fabrics, but sometimes you may want to remove it for various reasons. Maybe you made a mistake, or you want to reuse the fabric for another project, or you just don't like the design anymore. Whatever the reason, removing embroidery with scissors is possible, but it requires some patience and care.
Here are the steps to follow:
1. Turn the fabric over and locate the backside of the embroidery. You will see the stitches and knots that hold the embroidery in place.
2. Use a pair of sharp scissors to cut the stitches as close to the fabric as possible. Be careful not to cut the fabric itself or any other stitches that you want to keep.
3. Pull out the cut threads from the front side of the fabric. You may need to use a pair of tweezers or a needle to help you remove them. If the threads are too tight or tangled, you may need to cut more stitches from the backside and repeat this step until all the threads are removed.
4. Check the front side of the fabric for any holes or marks left by the embroidery. You can try to smooth them out by ironing the fabric or washing it with cold water and mild detergent. If the holes are too big or noticeable, you may need to patch them up with another piece of fabric or cover them with a new embroidery design.
Removing embroidery with scissors is not a difficult task, but it can be time-consuming and tedious. If you want to avoid this hassle, you can try other methods of removing embroidery, such as using a seam ripper, a razor blade, or a chemical solvent. However, these methods may also damage the fabric or leave residues, so you should always test them on a small area first and follow the instructions carefully.
Embroidery is a great way to express your creativity and personalize your fabrics, but sometimes you may change your mind or make a mistake. In that case, don't worry, you can always remove it with scissors and start over with a new design.


%20(1).webp)
.png)
%20(1).webp)


