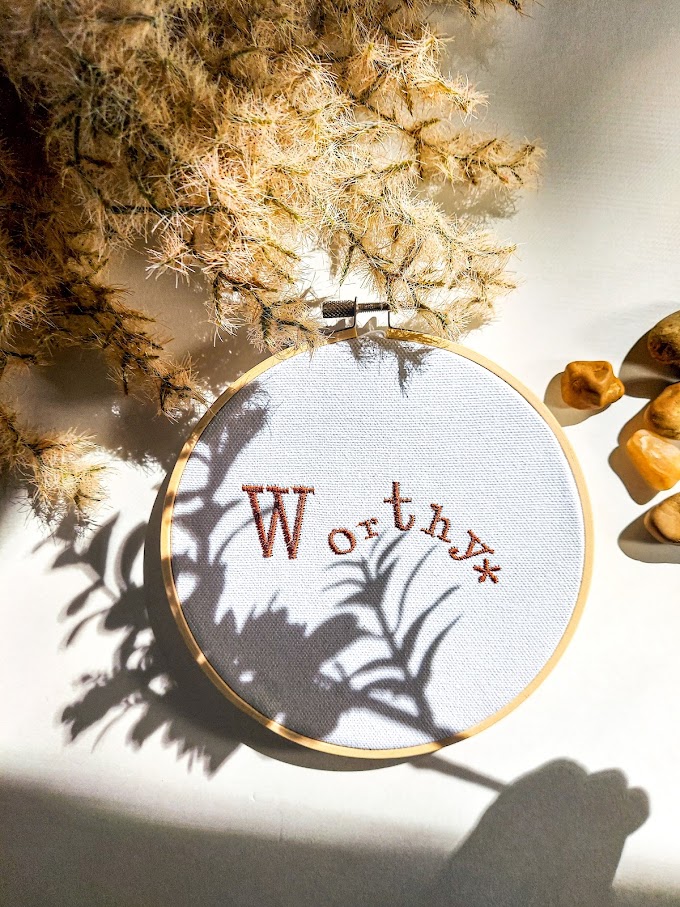
Do you love embroidery? Embroidery is the art of creating designs and patterns with thread on fabric. Embroidery can make your fabrics, garments, accessories, and home decor more colorful, textured, and unique.
But embroidery by hand can take a lot of time and effort. That's why many crafters choose to use an embroidery machine instead. An embroidery machine is a special type of sewing machine that can stitch intricate designs and patterns with thread automatically. Embroidery machines can also combine sewing and embroidery functions, so you can do both tasks with one machine. Embroidery machines can save you time, energy, and frustration when embroidering.
But how do you use an embroidery machine? What do you need to get started? And what are some tips and tricks to make your embroidery projects look amazing? In this blog post, we will answer these questions and more. We will show you how to embroider with the machine in 2023: a step-by-step guide for beginners.
What You Need to Embroider with Machine
To embroider with a machine, you will need the following items:
- An embroidery machine: There are many types and models of embroidery machines available on the market, ranging from basic to advanced, from budget-friendly to expensive. You should choose an embroidery machine that suits your needs, preferences, and budget. Some features to look for in an embroidery machine are:
- The size and number of hoops: The hoop is the frame that holds the fabric in place while embroidering. The size of the hoop determines the maximum area that you can embroider at once. The number of hoops determines how many colors or designs you can embroider without changing the hoop. Some embroidery machines come with multiple hoops of different sizes and shapes. You should choose an embroidery machine that has a hoop size that matches your project size and a number of hoops that matches your design complexity.
- The number and type of stitches: The stitch is the basic unit of embroidery. The number of stitches determines how many different patterns and effects you can create with your embroidery machine. The type of stitches determines how the stitches look and behave on the fabric. Some common types of stitches are satin stitch, fill stitch, outline stitch, applique stitch, etc. Some embroidery machines have hundreds or thousands of built-in stitches that you can choose from. You should choose an embroidery machine that has a variety of stitches that suit your style and preferences.
- The design editing and importing capabilities: The design is the image or pattern that you want to embroider on the fabric. The design editing capability determines how much you can customize and modify the design on the embroidery machine itself. The design importing capability determines how you can transfer the design from your computer or other devices to the embroidery machine. Some embroidery machines have a touchscreen display that allows you to edit the design on the screen. Some embroidery machines have a USB port or a wireless connection that allows you to import the design from your computer or other devices. You should choose an embroidery machine that has a design editing and importing capability that matches your level of skill and creativity.
- An embroidery thread: The thread is the material that forms the stitches on the fabric. The thread color, thickness, and quality affect the appearance and durability of your embroidery. You should choose an embroidery thread that matches your fabric type, design style, and project purpose. Some common types of embroidery thread are rayon, polyester, cotton, silk, metallic, etc. You should also choose an embroidery thread that is compatible with your embroidery machine's needle size and tension settings.
- A bobbin: The bobbin is a small spool that holds the thread for the underside of the embroidery. The bobbin thread color should match or contrast with the top thread color depending on your design preference. You should wind the bobbin with enough thread before starting to embroider.
- A fabric: The fabric is the material that you want to embroider on. The fabric type, weight, stretchiness, and texture affect how the embroidery will look and feel on it. You should choose a fabric that is suitable for your project type, design style, and intended use. Some common types of fabric for embroidery are cotton, linen, denim, silk, leather, etc.
- A needle: The needle is the tool that pierces the fabric and forms the stitches with the thread. The needle size, shape, and point affect how easily and smoothly it penetrates the fabric and how it affects the fabric quality. You should choose a needle that matches your fabric type, thread type, and stitch type. Some common types of needles for embroidery are universal, ballpoint, sharp, metallic, etc.
- A stabilizer: The stabilizer is a material that supports the fabric and prevents it from puckering or stretching while embroidering. The stabilizer can be attached to the fabric before or after hooping it. The stabilizer can be removed or left on the fabric after embroidering depending on its type. You should choose a stabilizer that matches your fabric type, design size, and project purpose. Some common types of stabilizers for embroidery are tear-away, cut-away, wash-away, heat-away, etc.
How to Embroider with Machine in 2023: A Step-by-Step Guide for Beginners
Now that you have all the items you need to embroider with the machine, you can follow these steps to start your embroidery project:
1. Choose a design: You can either use a built-in design from your embroidery machine's library or import a custom design from your computer or other devices. You can also edit the design on your embroidery machine's screen if you want to change its size, position, orientation, color, etc.
2. Choose a hoop: You can either use a hoop that comes with your embroidery machine or buy a separate hoop that fits your project size. You should choose a hoop that is slightly larger than your design size and has enough space around it for securing the fabric.
3. Hoop the fabric: You can either hoop the fabric alone or with a stabilizer attached to it. You should place the fabric right side up on the inner ring of the hoop and smooth out any wrinkles or folds. Then you should place the outer ring of the hoop over the fabric and press it down firmly. You should tighten the screw on the hoop to secure the fabric in place.
4. Attach the hoop to the machine: You should align the hoop with the attachment on your embroidery machine and snap it into place. You should make sure that the hoop is centered and level on your embroidery machine.
5. Thread the needle: You should choose a thread color that matches or contrasts with your design color depending on your preference. You should follow your embroidery machine's instructions to thread the needle with the thread. You should also make sure that the thread is not tangled or loose.
6. Thread the bobbin: You should choose a bobbin thread color that matches or contrasts with your top thread color depending on your preference. You should follow your embroidery machine's instructions to wind the bobbin with the thread. You should also make sure that the bobbin is not overfilled or underfilled.
7. Insert the bobbin: You should follow your embroidery machine's instructions to insert the bobbin into the bobbin case. You should also make sure that the bobbin thread is pulled through the tension slot and the needle plate.
8. Select the stitch: You should follow your embroidery machine's instructions to select the stitch type and length that match your design and fabric type. You should also adjust the tension and speed settings if needed.
9. Start embroidering: You should follow your embroidery machine's instructions to start embroidering. You should lower the presser foot and press the start button. You should watch the embroidery machine as it stitches the design on the fabric. You should stop the embroidery machine if you need to change the thread color, reposition the hoop, or fix any problems.
10. Finish embroidering: You should follow your embroidery machine's instructions to finish embroidering. You should raise the presser foot and cut the thread. You should remove the hoop from the machine and remove the fabric from the hoop. You should trim any excess thread or stabilizer from the fabric. You should also iron or wash the fabric if needed.
Congratulations! You have just completed your embroidery project with a machine. You can now enjoy your beautiful and unique creation or give it as a gift to someone special.
Tips and Tricks to Embroider with Machine in 2023
Here are some tips and tricks to help you embroider with the machine in 2023:
- Test your design and settings on a scrap piece of fabric before embroidering on your final project. This will help you avoid any mistakes or surprises that could ruin your project.
- Use a good quality thread and needle that are compatible with your embroidery machine and fabric type. This will help you achieve a smooth and consistent embroidery result.
- Use a stabilizer that is appropriate for your fabric type, design size, and project purpose. This will help you prevent any puckering or stretching of the fabric while embroidering.
- Keep your embroidery machine clean and well-maintained. This will help you prevent any malfunctions or damages that could affect your embroidery quality.
- Have fun and be creative with your embroidery projects. You can experiment with different designs, colors, stitches, and fabrics to create unique and personalized embroidery pieces.
Embroidery with Machine: A Beginner's Guide for 2023 Conclusion
Embroidery with the machine is a fun and easy way to add some charm and personality to your fabrics, garments, accessories, and home decor. Embroidery with the machine can save you time, energy, and frustration when embroidering.
In this blog post, we have shown you how to embroider with the machine in 2023: a step-by-step guide for beginners. We have also shared some tips and tricks to help you embroider with the machine in 2023.
We hope you have enjoyed this blog post and learned something new about embroidery with the machine. If you have any questions or comments, please feel free to leave them below. We would love to hear from you.
Thank you for reading and happy embroidering!


%20(1).webp)
.png)
%20(1).webp)


